5 Tips for Minimizing Humidity in Your Shipping Container
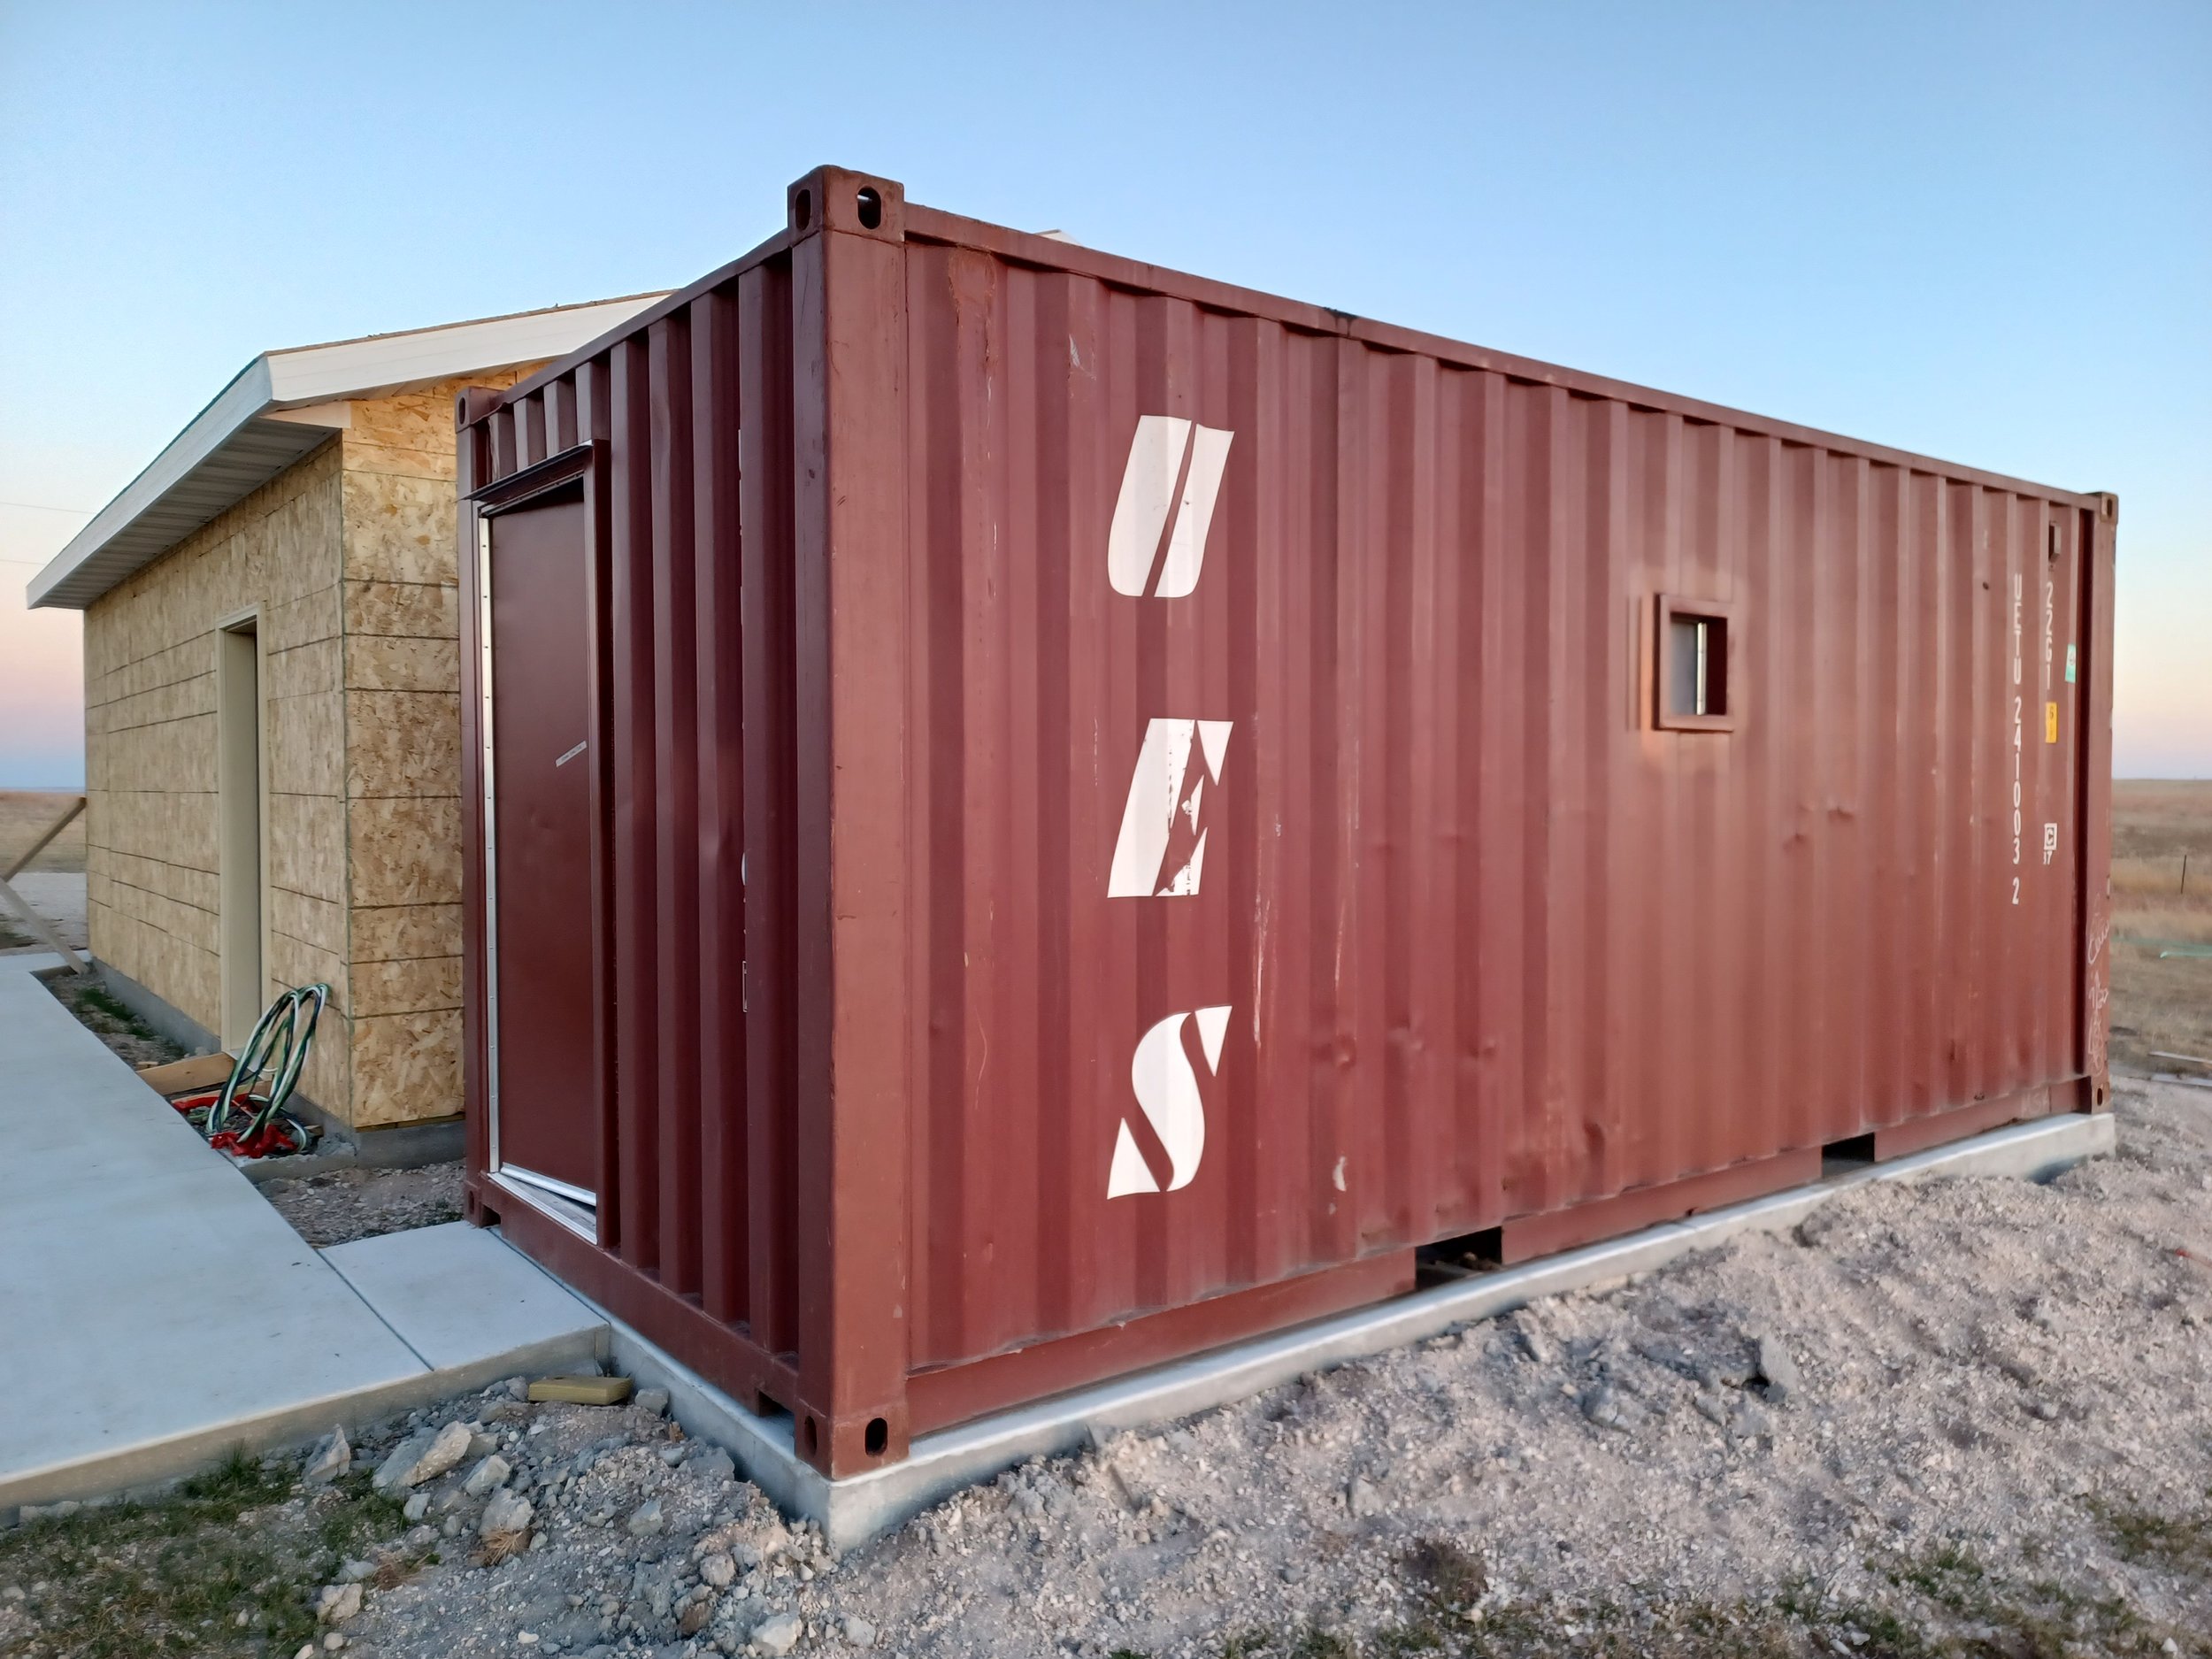
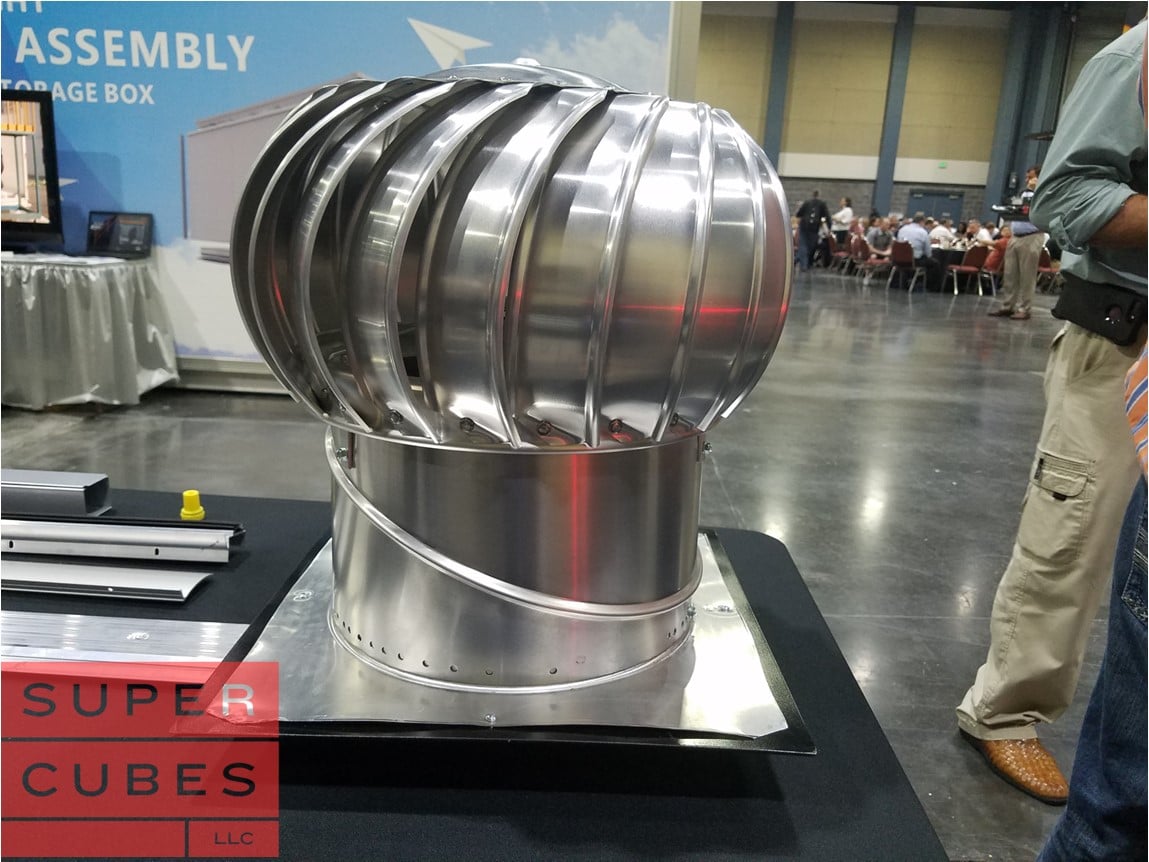
Shipping containers may be essential to your business, but they can also be a huge hassle if you’re not careful and humidity enters the equation. Humid shipping containers can promote a moist environment that wreaks havoc on whatever you’re storing or shipping. At Super Cubes, we’ve been working ...
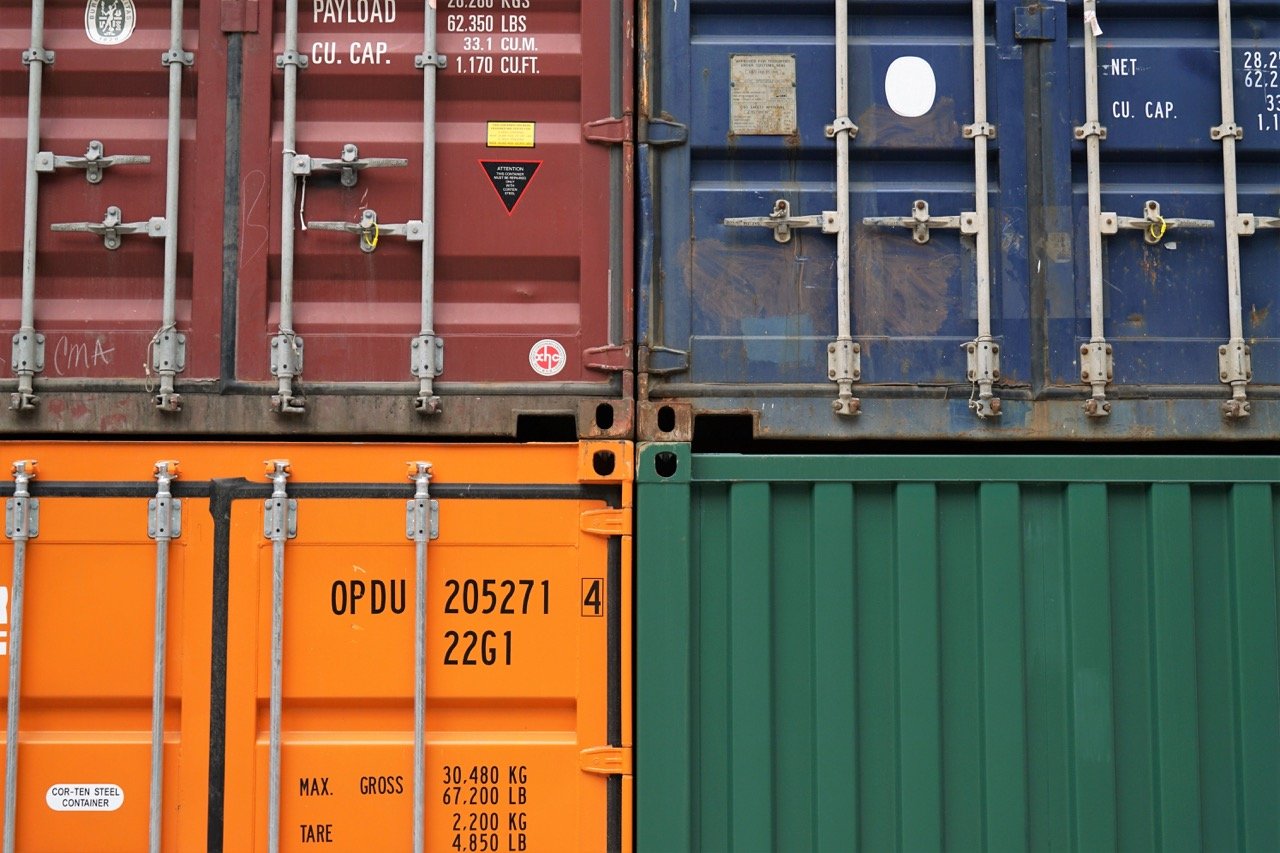
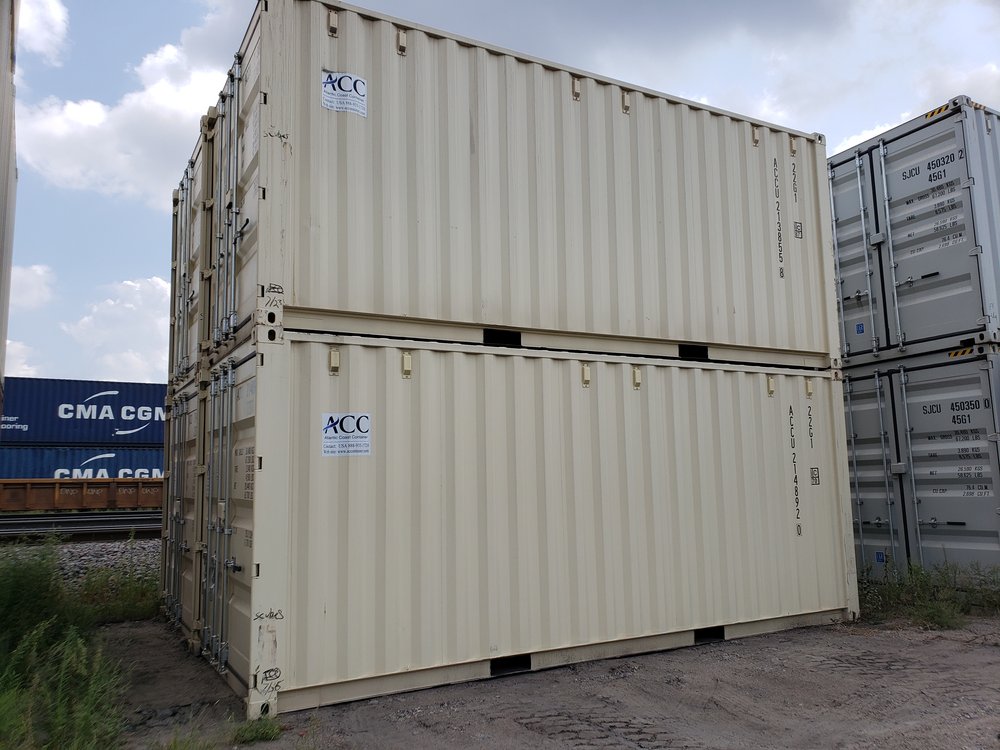
Purchasing a Container, 20' container, 10' container, buy storage container, Container Scams, Sizes and Specs