A New Mexico Stargazer's Retreat
down to be manageable in the desert. Sheryl shared with me her pictures that she took at various stages of finishing her cabin and shared with me how she did it. I love that she also gives tips on lessons she learned along the way. To make pictures larger, simply click on them.
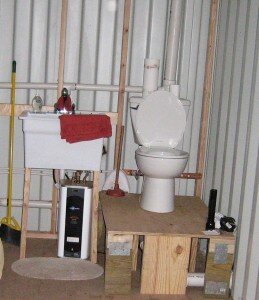
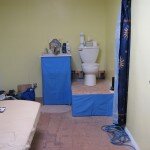
I had a plumber come out and plumb the toilet, sink and water heater from scratch. He put in a 2x4 plumbing wall. The platform the toilet is sitting on is 3/4 plywood with about 15" of clearance underneath for the plumbing. The water heater is a 4 gal capacity made by Insinkerator that plugs into a 110w outlet. The sink is a utility tub sink used to wash up until I put in a shower
Now, several years later an many trips out to the cabin later, she has finished the cabin and sent me pictures of it. She was so efficient with space, plumbing and electricity. She has all the comforts of home, but scaled

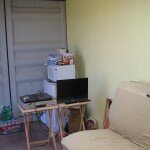
which will go in the back left corner next to the sink. I have a small fridge/freezer and microwave. The futon I built using 2x4's and 3/4" plywood. It’s sturdy, which was the idea, but very heavy and a pain to move.
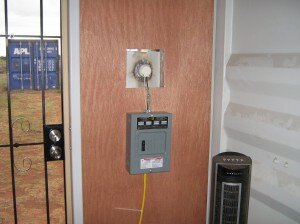
Here is the electrical system I put in. I used a marine plug you would use on a boat to attach shore power. I connected that to a regular breaker box then ran two circuits giving me two outlets to work with.
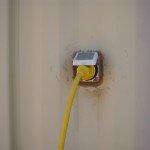
Here is the outside of the marine plug that the power cord from the power pedestal connects to.
This shows the shore power cord going from the power pedestal where I had a 30a outlet installed to the plug on the container. (below)
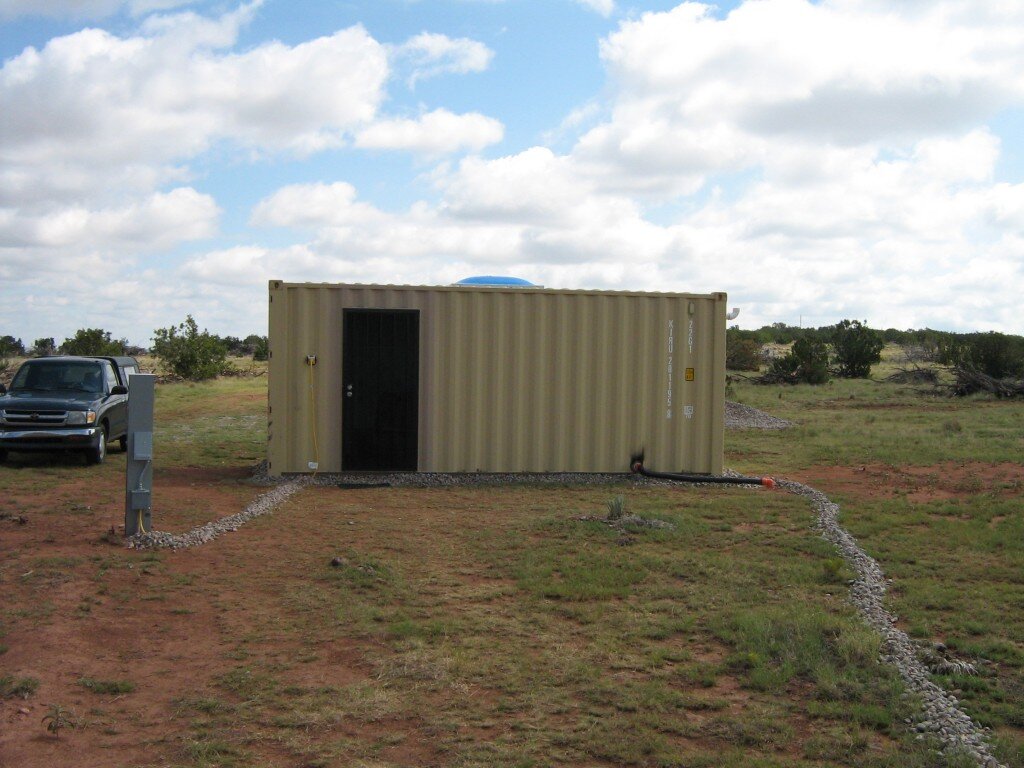
If you look at the bottom right corner of the container you can see an orange and brown tube running from the container to the ground a few feet away, this is the sewer line that runs to the septic tank. It's the same thing that is used on travel trailers.
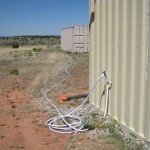
The hose attached to the spigot is how the water gets into this container. You can see that the hose runs from the other container. You can also see the end of the sewer hose that goes into the septic tank.
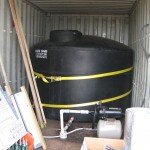
This is the 1500 gal water tank that provides water to the other container. There is a small jet pump/pressure tank combo that is plumbed to the tank which provides water pressure. **Lesson learned: This pump/pressure tank combo is meant to be used in a well situation. If a backflow switch is not installed between the pump and the water tank, the pressure of the bladder in the pressure tank will force the water back into the water tank and the pump will cycle on and off over and over due to the drop in pressure. A backflow switch solves this.
I used 1x2 furring strips and 1/2" foam board glued to the inside walls and ceiling with Liquid nails. I called Liquid Nails to ask them which of their products I should use, they recommended the Marble/Granite Liquid Nails, because the furring strips and foam board were being attached to a hard surface. They warned to rough up the paint on the walls and ceiling of the container before attaching the furring strips or foam board to allow the Liquid Nails to attach better.
**Lesson learned: Some of the furring strips came loose from the walls and ceiling. I don't think I roughed up (sanded) the paint enough before attaching the furring strips. It seems necessary to give the paint a really good sanding before the furring strips are attached. I hope this solves the problem, we'll see next year if the places I fixed are still attached.
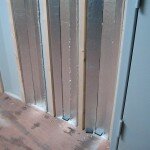
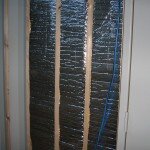
This is radiant heat barrier tucked between the edges of the furring strips and foam board enclosing the spaces between the furring strips. It does a good job of keeping the heat down especially on the south facing wall.

The panel the electrical box is attached to was the first piece to go up. It is 5mm utility paneling and was used because it was the cheapest paneling I could find. Regular paneling was three times as expensive. #4x3/4 screws were used to attach the paneling to the furring strips. I used small screws because I didn't want to crack the soft wood of the furring strips by using screws that were too large. **Lesson learned: Because the paneling is only 5mm thick it is prone to expansion, contraction and warping.
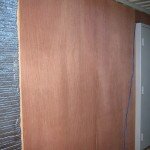
You can see as the panels go up, it is starting to look more like a room than a cargo container which was the idea.
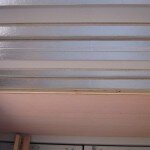
Here are furring strips, foam board and panel on ceiling. There is radiant heat barrier above the paneling on the ceiling just like the walls. I used radiant heat barrier because of the heat during the day, but I'm sure a fiberglass insulation would probably be more effective. I just didn't want to deal with the fiberglass, breathing it, the fibers getting all over everything etc.
After years of work it was FINALLY time to paint. To see the image in my head become reality.
I skirted the platform and around the sink to cover up the ugly plumbing.
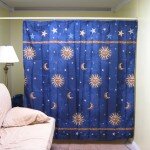
I put up a shower curtain to separate the living space from the bathroom. I found this curtain at Walmart. Thought it was perfect with the sun/moon/stars. How appropriate for stargazing. I need another one though to go all the way across the container.
I added a white base board, white ceiling and ceiling trim.
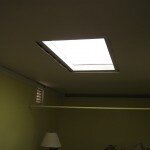
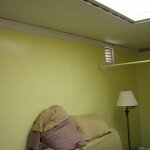
The skylight does a great job of letting in natural light, but it also lets in a lot of heat or cold. During the day I can feel the heat coming through the skylight and there have been times when I've been there in the cooler months, Sept/Oct where at night you can feel the cold descending through the skylight. I bought a kit that has the plastic that you put around doors or windows, it's attached with double sided tape, then you take a hairdryer to it and the plastic stretches taut and is supposed to keep the hot and cold out. I haven't tried it yet, but when I do I'll let you know how it works. I just wanted to let you know that a lot of heat and cold can come through.
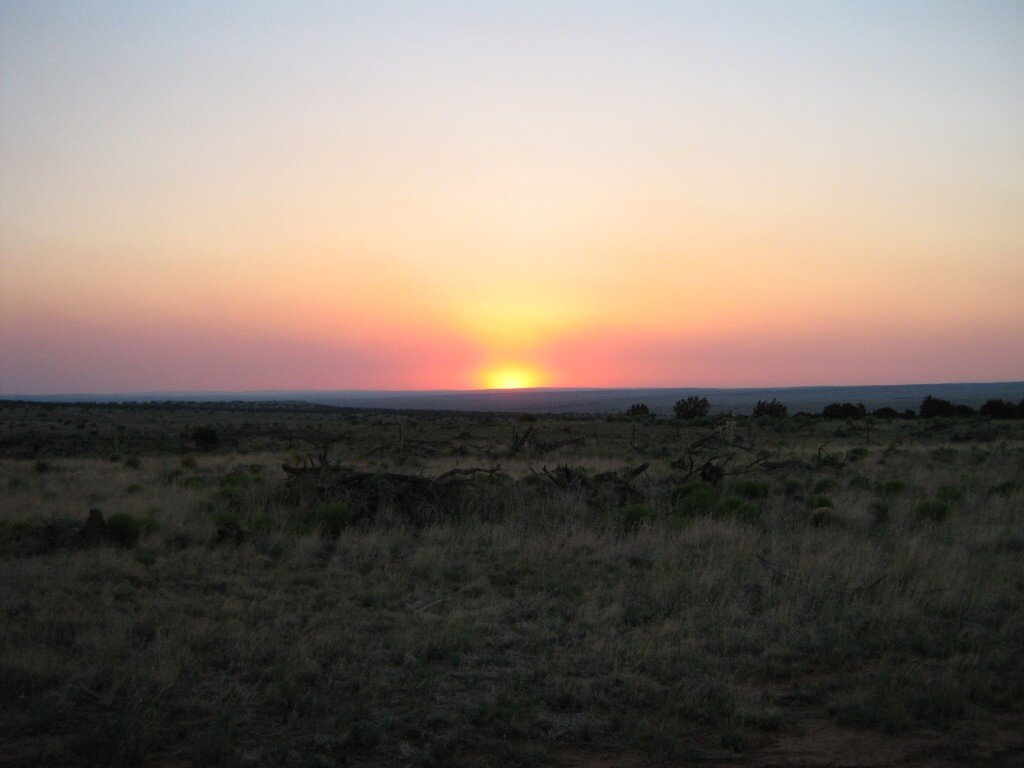
It's tough to beat a New Mexico sunset.
Thank you to Sheryl for sharing all of her hard work on her cabin. If you have specific questions for Sheryl, please post them below or email me at Super Cubes and we’ll get her to answer them. To get a better look at any of these pictures, click on them to make them bigger.